If you buy or OEM golf balls, test quality on two levels: (1) USGA/R&A conformity—mass, size, IV/ODS, symmetry—and (2) manufacturing consistency—compression, Shore D hardness, concentricity, dimples, coating. The first determines if a ball is legal to play; the second determines flight tightness, durability, and real supply-chain quality.
Notation: Use ± for tolerances; Δ for thickness delta; σ for standard deviation. Use range consistently (no bilingual parenthesis).
What parameters define golf ball quality?
Quality = two gates: conformity (mass ≤45.93 g, diameter ≥42.67 mm, IV/ODS and symmetry) and consistency (compression, Shore D windows, weight/diameter uniformity, concentricity/balance, dimple geometry, coating thickness/durability). Both matter; the second drives shot dispersion and customer satisfaction.
Conformity vs. quality
| Aspect | Conformity (USGA/R&A) | Quality (Factory QC) | Buyer Action |
|---|---|---|---|
| Gate | Pass/fail on weight, diameter, IV/ODS, symmetry | Tight distributions on key KPIs | Ask for conformity statement + QC pack |
| Decision basis | Rule legality | σ and range across batches | Compare to “good/excellent” windows |
Conformity vs. quality: two gates
Conformity sets the rule boundary (USGA/R&A: weight, size, IV/ODS, symmetry). Quality ranks how consistent each ball is within that boundary. Buyers should ask for both a conformity statement and batch-level QC statistics.
Consistency metrics: σ, range, Cp/Cpk idea
Use mean, standard deviation (σ), and range on each KPI. For capable lines, Cp/Cpk near or above 1.33 is a good signal (optional for buyers; σ & range are sufficient).
Environmental conditioning (23±2°C, 50±10%RH)
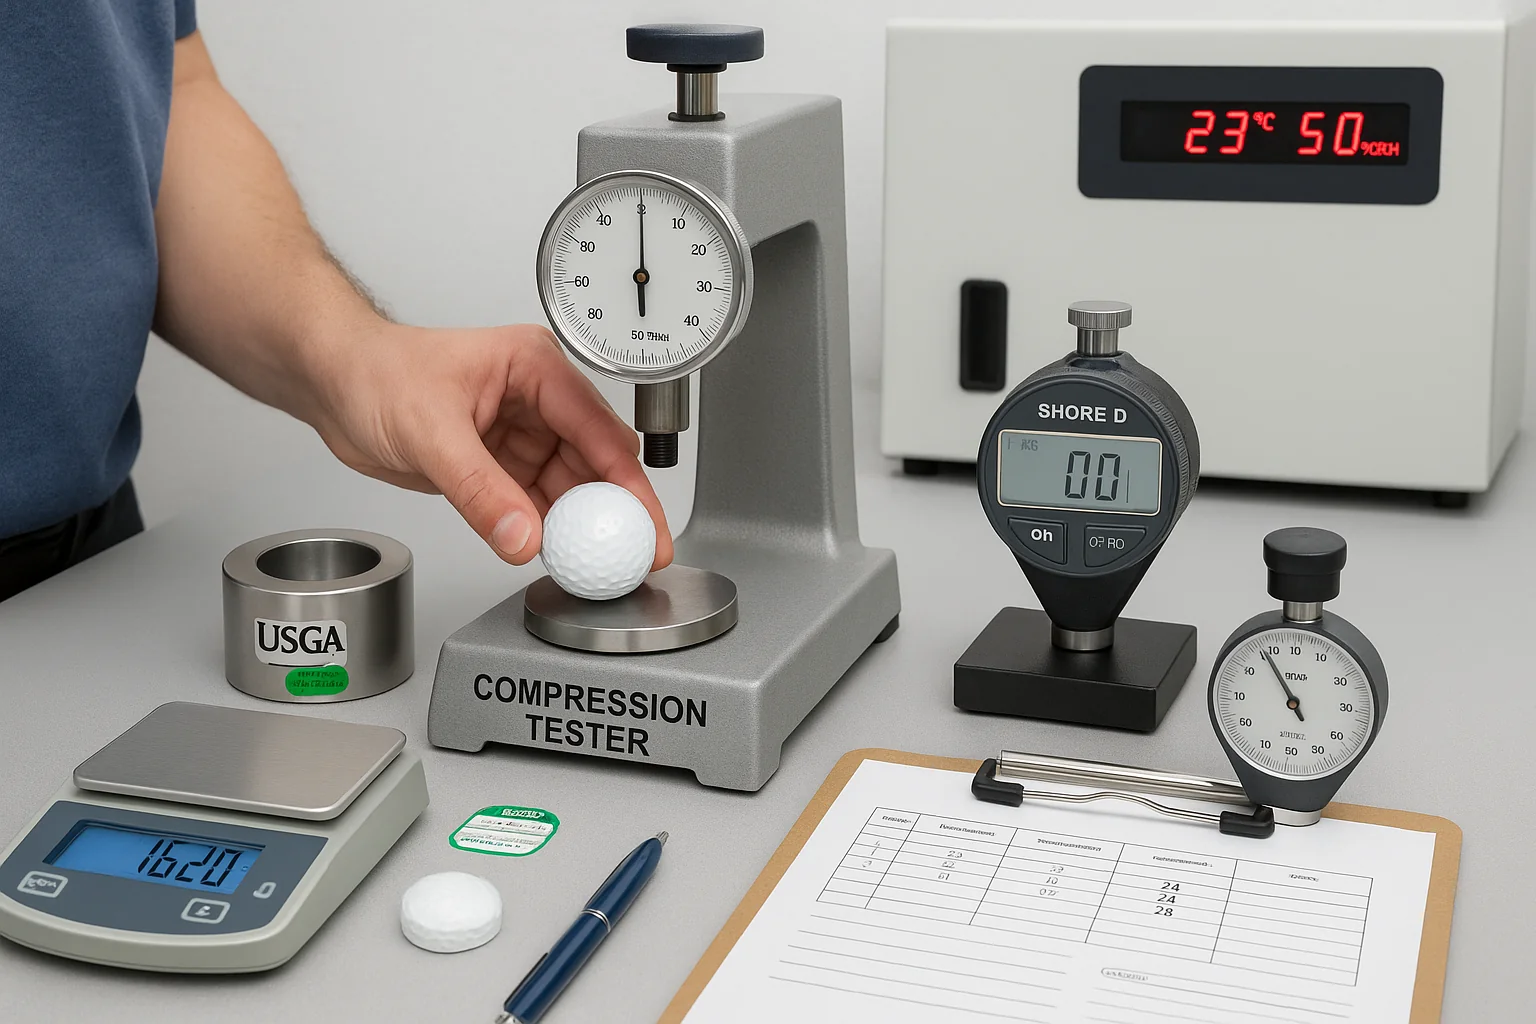
Condition samples ≥3 hours at 23±2°C, 50±10%RH before measuring compression, hardness, and dimensions. Record ambient conditions on every QC sheet for traceability.
Parameters vs. why they matter
| Parameter | Definition | Why it matters | When to test | Buyer note |
|---|---|---|---|---|
| Conformity (USGA/R&A) | Mass, diameter, IV/ODS, symmetry | Tournament legality | New model / periodic | G-3 adoption decides listing need |
| Compression | ATTI/eqv. scale | Speed/feel signal | Every lot | Compare mean + σ |
| Shore D hardness | Cover/mantle hardness | Spin/feel & durability | Every lot | Target window ±1–2D |
| Concentricity/balance | Core–cover alignment | Aerodynamic stability | Pre-ship & audits | CT/X-ray preferred |
| Dimple geometry | Depth/diameter/density | Lift/drag & repeatability | Tooling changes | Watch uniformity |
| Coating thickness | Paint/clear layers | Durability & gloss | Every lot | Ultrasonic, non-destructive |
✔ True — Consistency beats single values
Two balls both “on spec” can fly differently if σ and range differ. Tight distributions reduce shot dispersion.
✘ False — “Conforming automatically means high quality”
Conformity is pass/fail; quality is how tightly a factory repeats the target values.
Essential instruments for lab and factory QC
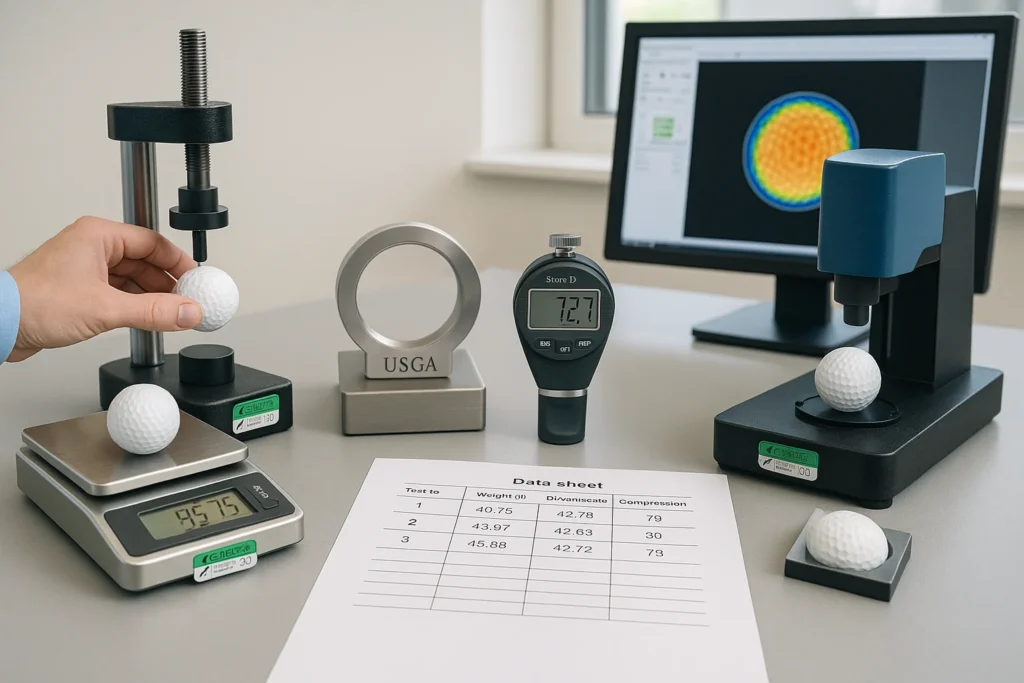
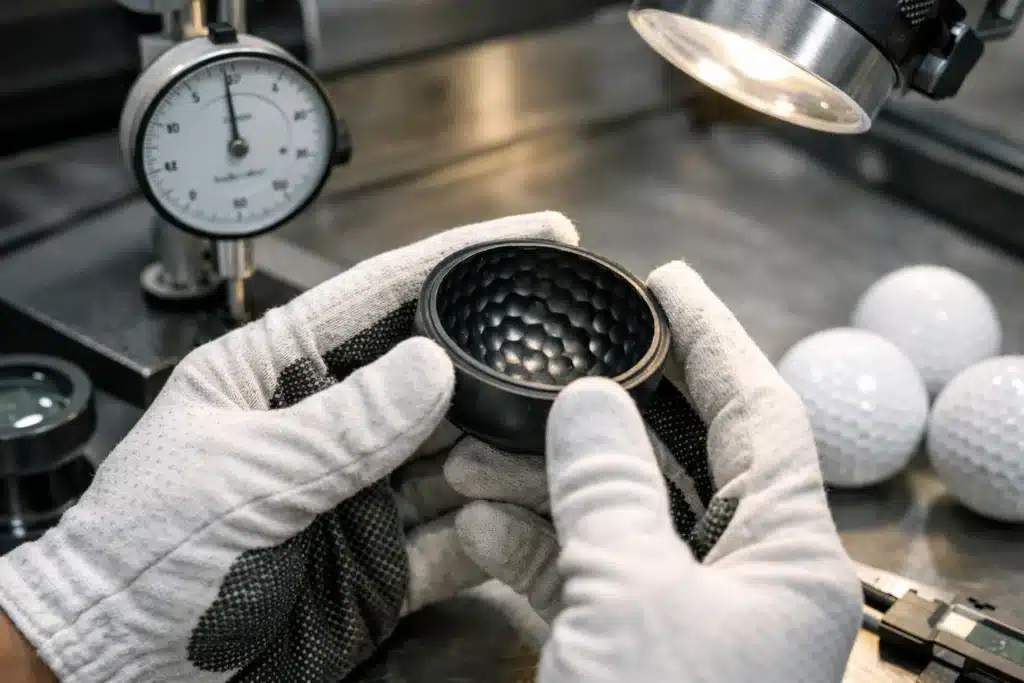
A credible lab stacks: precision scale + USGA ring gauge, ATTI/eqv. compression, Shore D durometer, temperature–humidity chamber, 3D optical profiler, ultrasonic coating gauge, CT/X-ray for concentricity, and a rebound/IV rig. Missing these indicates immature QC capability.
Must-have: scale, ring gauge, compression, Shore D, chamber
These cover legality (mass/size) and core feel/durability (compression/hardness). The chamber standardizes conditions for repeatable results.
Recommended: X-ray/CT, rebound/IV, Taber Abraser
CT quantifies layer thickness and eccentricity. Rebound/IV rigs support speed consistency. Taber Abraser (ASTM D4060) compares coating durability across paints/clears.
Advanced: robot/third-party ODS/IV, wind-tunnel links
For elite programs, robot hits under controlled head speed + ODS boundary checks and aerodynamic correlation via wind tunnel.
Instrument → purpose → acceptance → calibration
| Instrument | Purpose | Acceptance notes | Calibration/traceability |
|---|---|---|---|
| 0.01 g scale | Weight | ≤45.93 g; tight range | Annual cert; daily check weights |
| Ring gauge / ball gauge | Diameter | ≥42.67 mm; No-Go not pass | Gauge block verification |
| ATTI/eqv. | Compression | σ and range vs spec | Periodic load-cell check; Traceability IDs on reports |
| Shore D durometer | Hardness | Cover/mantle window | Indenter & block verification; Traceability IDs on reports |
| CT/X-ray | Concentricity | Cover Δ ≤0.003–0.006 in | Service provider certificate |
| 3D optical profiler | Dimple depth | ~0.010" mean; uniformity | Tile/step standard |
| Ultrasonic gauge | Coating stack | ±10–20% vs design | Step wedge standard |
| Rebound/IV rig | Speed consistency | Internal spec trend | Photogate timing check |
✔ True — Visual checks can’t replace CT
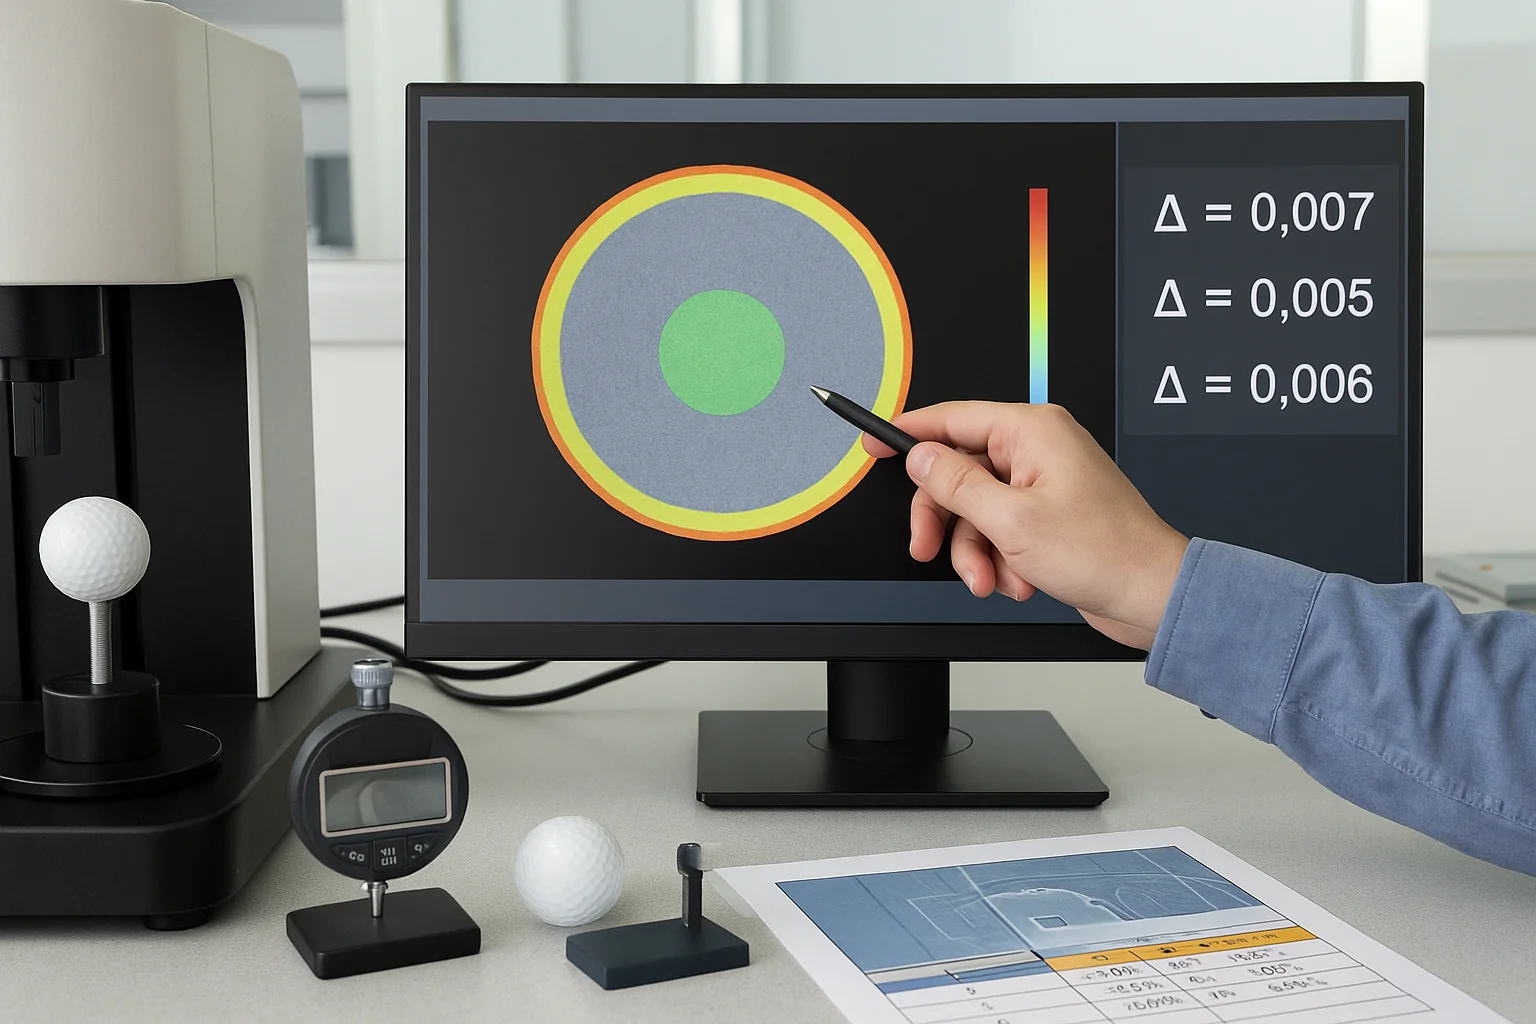
Eccentricity of a few thousandths of an inch is invisible but aerodynamically meaningful. Use CT/X-ray.
✘ False — “Consumer spin balancer equals lab capability”
Balancers are screening tools, not substitutes for quantified concentricity and layer-thickness maps.
How to test compression, hardness, and balance?
Use ATTI/eqv. for compression; Shore D for cover/mantle hardness windows; CT/X-ray for concentricity and mass balance. For credibility, test ≥12 balls and report mean, σ, and range with instrument IDs and conditions.
Compression: ATTI scale & repeatability
Condition samples; zero the instrument; rotate per method; record three readings per ball; average to batch mean; report σ and range. Compare to the target spec ± window (e.g., ±3 ATTI for “excellent”).
Hardness: Shore D for cover vs. mantle
Cut a sectioned sample when evaluating mantle; for cover, use surface measurement per ASTM D2240. Typical windows: PU ~45–60D, ionomer ~56–65D. Report target value ± tolerance.
Concentricity & balance: CT metrics & acceptance
CT slice maps core offset and layer thickness variation. Set acceptance such as cover thickness Δ ≤0.003–0.006 in and core offset ≤0.15–0.30 mm depending on your “good/excellent” tier.
Method sheet: mechanical property tests
| Metric | Tool | Sample size | Report fields |
|---|---|---|---|
| Compression (ATTI) | ATTI/eqv. | ≥12 balls; 3 reads/ball | Mean, σ, range; spec window; Instrument ID & calibration date |
| Hardness (Shore D) | Durometer | ≥12 balls; section as needed | Cover/mantle mean ± tol; Instrument ID & calibration date |
| Concentricity | CT/X-ray | ≥12 balls | Layer Δ; core offset; pass rate; Instrument ID & calibration date |
✔ True — A one-ball test is not enough
Variability hides in distributions. Use ≥12 for lab lots and ≥30 for on-site audits to expose spread and tails.
✘ False — “Harder always = better”
Hardness tunes feel and spin. The right window depends on your cover system and target player profile.
How to measure dimple patterns and coating quality?
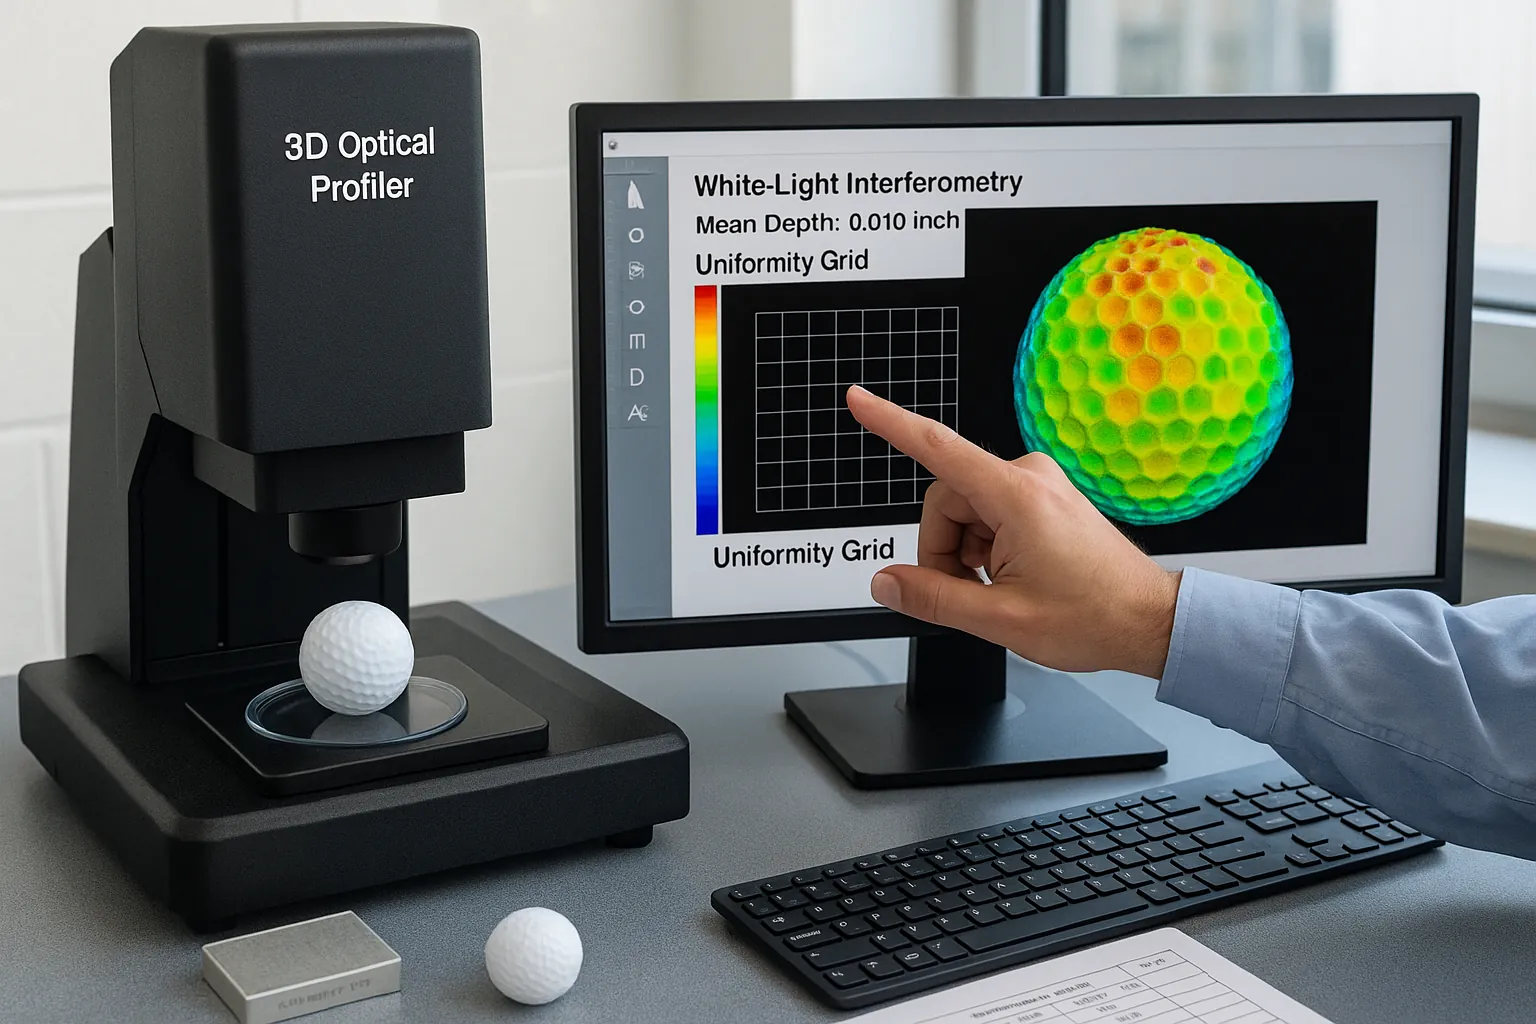
Use a 3D optical/white-light interferometer to quantify dimple depth, diameter, spacing, density, and uniformity. Use an ultrasonic gauge on non-metal substrates to measure paint/clear stacks. Use Taber Abraser to compare abrasion resistance across coating systems.
Dimple metrics and typical depth (~0.010")
Measure mean depth ~0.010" (≈0.25 mm) and the distribution across the pattern. Track uniformity more than absolute count—small geometric drift alters lift/drag.
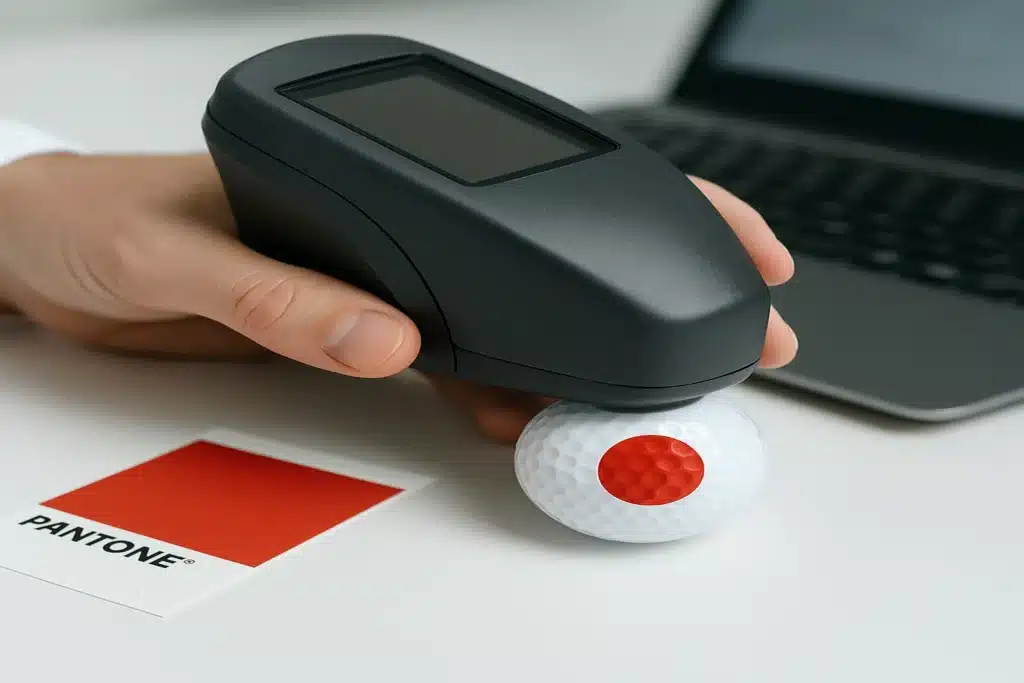
Ultrasonic coating thickness (multi-layer)
On plastic substrates, ultrasonic gauges resolve multiple layers (primer/ink/clear). Track each layer to target ±10–20% and trend by cavity/tool.
Abrasion: ASTM D4060 comparison
Run Taber with fixed load/wheel across candidate paints/clears. Report mass loss or haze delta versus a baseline model.
Surface metrics → method → acceptance window
| Surface KPI | Method | Acceptance window | Note |
|---|---|---|---|
| Dimple depth | 3D profiler | 0.010" ±0.0015–0.003 | Check batch uniformity |
| Dimple density | 3D/vision | Design ± tolerance | Verify per quadrant |
| Coating thickness | Ultrasonic | Design ±10–20% | Multi-layer resolution |
| Abrasion | Taber D4060 | ≤5–10% vs baseline | Relative comparison only |
✔ True — Thicker isn’t always tougher
Beyond a point, thicker clear can crack or chip sooner. Resin and cure matter as much as microns.
✘ False — “More dimples = more spin”
Spin follows cover hardness, friction, and dimple aerodynamics together—not count alone.
Data thresholds for pass / good / excellent
Use USGA/R&A for legality, then apply tighter factory windows for quality. Prioritize σ and range over single values. Define pass/good/excellent for weight/diameter, compression σ, Shore D tolerance, concentricity, dimple depth uniformity, coating variation, and abrasion deltas.
KPI thresholds (pass / good / excellent)
| KPI | Pass | Good | Excellent | Notes |
|---|---|---|---|---|
| Weight (g) | ≤45.93; range ≤0.6 | Range ≤0.4; σ≤0.12 | Range ≤0.3; σ≤0.08 | Conformity + uniformity |
| Diameter (mm) | ≥42.67; No-Go not pass | Mean ≥42.70; range ≤0.15 | Mean ≥42.72; range ≤0.10 | Use No-Go/Go gauges per USGA method. |
| Compression (ATTI) | Spec ±6 | Spec ±4; σ≤3 | Spec ±3; σ≤2 | Repeatability focus |
| Cover hardness (Shore D) | In design window | Target ±2D | Target ±1D | PU 45–60D; ionomer 56–65D |
| Concentricity (cover Δ) | ≤0.010" | ≤0.006" | ≤0.003" | CT/X-ray mapping |
| CG offset | ≤0.30 mm | ≤0.20 mm | ≤0.15 mm | Balance proxy |
| Dimple depth | 0.010" ±0.003 | ±0.002 | ±0.0015 | Uniformity priority |
| Coating thickness | Design ±20% | ±15% | ±10% | Ultrasonic stack |
| Abrasion (Taber) | ≥ previous gen | ≤10% loss vs base | ≤5% loss vs base | Relative metric |
Sampling & recording checklist
-
Sample size — Lab n≥12; on-site n≥30 for better tail detection.
-
Environment — Test at 23±2°C and 50±10%RH; condition ≥3 h.
-
Records — Keep raw data + mean/σ/range for every KPI.
-
Instrument IDs — Include model + traceability ID + calibration date on all reports.
-
IV/ODS references — Log relevant procedure numbers used in testing.
✔ True — Hitting spec ≠ “excellent”
“Excellent” reflects tight variation, not the target alone. Buyers should negotiate windows on σ and range.
✘ False — “σ is less important than range”
Use both. σ tracks typical spread; range exposes outliers and tail risk.
How to evaluate a manufacturer’s QC capability?
Request a 12-ball QC pack (raw data + stats), instrument list with calibration, conditioning logs, and knowledge of IV/ODS/symmetry. Cross-check tools against “must-have” lists. On-site, draw n≥30 random and re-test; compare σ and ranges to your “good/excellent” windows.
Buyer checklist: documents, data, calibration
Ask for: (1) 12-ball QC with raw tables and σ/range, (2) instrument roster + calibration certificates, (3) conditioning records (≥3 h @ 23.9°C), (4) procedures for IV/ODS/symmetry references, (5) change control on molds, materials, and paint systems.
On-site verification: sampling & re-test flow
Randomly select n≥30 finished balls from WIP/FG. Re-run weight, diameter, compression, and cover Shore D onsite. Compare your results to factory numbers; gaps suggest method or instrument drift—escalate to CT and profiler checks.
Why do some factories skip USGA/R&A renewals?
USGA/R&A listing certifies a model, not a factory. Renewals are billed per model/graphic; with 8–15% margins and frequent SKU changes, the ROI is weak unless a brand requires and funds it. Non-renewal ≠ poor quality if molds, materials, processes, and QC windows remain stable.
-
Cost burden vs OEM pricing; renewals per model/graphics
Annual fees multiply across SKUs. A factory making several variants would face thousands of dollars yearly without guaranteed ROI. -
Market fit: practice/range/limited-flight don’t need listing
If the business targets practice balls or limited-flight ranges, conformity listing is optional; internal QC still governs quality. -
Buyer practice: brand pays when required; factory shows prior proof
In OEM projects, the brand typically funds the submission. Many factories keep one-time proof as capability evidence. -
Risk note: require current internal QC data regardless of listing
Always verify current σ/range data, calibration dates, and that molds/materials/paint systems haven’t changed.
Buyer evidence checklist
| Evidence | What to see | Acceptance criterion | Action if failed |
|---|---|---|---|
| 12-ball QC pack | Raw + σ/range | Matches “good/excellent” | Containment + re-run |
| Calibration | Cert dates | Within cycle; traceable | Calibrate/replace |
| Conditioning | Logs @ 23°C/50%RH | ≥3 h pre-test | Retest after soak |
| Tools presence | Must-have roster | All present/working | Third-party test |
| CT/profiler access | Internal or lab | Concentricity & dimples mapped | Add to control plan |
FAQ
Do I need a listed ball for league play?
If the event adopts Model Local Rule G-3, you must use a ball on the Conforming Ball List; otherwise, conformity to the Equipment Rules is the key requirement. Always check the event’s notice of competition.
League and club events differ. Many amateur events don’t adopt G-3; elite tournaments usually do. If G-3 applies, the exact model/marking must appear on the current USGA/R&A list. For corporate outings or casual play, conforming design is typically sufficient. Ask organizers ahead to avoid DQ risk and to plan your sourcing accordingly.
What sample size proves batch consistency?
Use at least n≥12 for lab qualification and n≥30 for on-site audits. Always report mean, σ, and range rather than only averages.
Averages hide variation. With n≥12 you begin to resolve batch spread; n≥30 improves tail detection. Record instruments, calibration dates, and environmental conditions (23±2°C, 50±10%RH). For compression, three readings per ball reduce test error. Compare σ and range to your negotiated “good/excellent” windows before release.
Is a spin-balancer enough to check balance?
No. A consumer balancer is a screening tool. Use CT/X-ray to quantify concentricity and layer thickness symmetry for reliable acceptance decisions.
Spinning can indicate gross imbalance, but it cannot resolve thousandths-level cover thickness deltas or core offsets. These small geometric errors can still affect stability and dispersion. Require periodic CT/X-ray maps with acceptance limits (e.g., cover Δ ≤0.003–0.006 in; core offset ≤0.15–0.30 mm) for production lots and tooling changes.
Does tighter σ increase cost?
Usually, yes. Tighter windows need better process control, more inspection, and sometimes higher scrap. Align quality windows to use-case and margin.
If you specify “excellent” windows across all KPIs, expect more SPC, tool maintenance, and potential rework. Decide where tightness pays off: compression/hardness for feel consistency, concentricity for dispersion, coating for shelf and play durability. A tiered window (excellent on critical KPIs; good elsewhere) often optimizes cost–performance.
A factory didn’t renew USGA listing—red flag?
Not by itself. Renewal costs are high and stack per model/graphic. Ask for current QC data, calibration records, and proof that molds/materials/process haven’t changed.
Treat listing as a ticket, not a capability certificate. Many OEM factories certify once to demonstrate ability, then renew only when a brand/customer funds it. Your safeguard is the current 12-ball QC pack, SPC trends, and third-party CT/profiler reports when requested.
How long does full QC on a new batch take?
Plan 2–5 days including sample conditioning, mechanical tests (compression/hardness), dimensional checks, CT/profiling slots, and report compilation.
Time depends on CT/profiler access and coating cure windows. Conditioning alone requires ≥3 hours; complex reports take longer if external labs are used. Agree on a QC calendar with the factory, including contingency slots around holidays and mold maintenance cycles.
Can we ship “practice” balls to retail with clear labeling?
Yes. Label them for non-conforming or practice use and avoid implying tournament legality. They’re not valid for rule-governed scoring where G-3 is adopted.
Practice, X-Out, and limited-flight balls serve training markets. They can be sold legally with proper disclosures. If a customer intends league use, steer them to conforming models and clarify the event’s equipment policy. Clear labeling reduces returns and complaint risk.
Conclusion
Judge golf balls on two gates: USGA/R&A conformity and manufacturing consistency. Real quality shows up in σ and range across compression, hardness, concentricity, dimples, and coatings. Require a 12-ball QC pack with calibration proof, standardized conditions, and stable molds/materials/process. Treat USGA listing as a ticket—not a capability certificate.
You might also like — Can Chinese Factories Make Pro V1 & Pro V1x-Level Golf Balls?

