Sourcing golf balls from China is easy; getting tour-level consistency without constant firefighting is not.
The four must-have QC processes for China golf ball manufacturers are: 1) core and layer concentricity checks, 2) weight and diameter compliance against USGA/R&A limits, 3) compression mapping for batch-to-batch consistency, and 4) cover durability plus cosmetic QC on coating and printing. With these four gates, buyers can quickly separate serious factories from basic workshops.
These four gates give you a simple way to read any factory’s quality culture before you commit serious volume.
In the rest of this guide, we’ll unpack each QC step, show how leading brands manage it, and turn that into a practical checklist you can use with China-based suppliers.
What Four QC Processes Do China Golf Ball Makers Need?
When you ask a China factory about quality, you usually hear vague answers like “we do 100% inspection”. That doesn’t tell you whether cores are centered, weights are legal, or compression is consistent across the batch.
A serious China golf ball maker should control four QC gates: 1) core and layer concentricity, 2) weight and diameter compliance to USGA/R&A, 3) compression mapping on every batch, and 4) cover durability plus cosmetic inspection. Missing any one of these makes non-conforming and inconsistent balls almost inevitable.
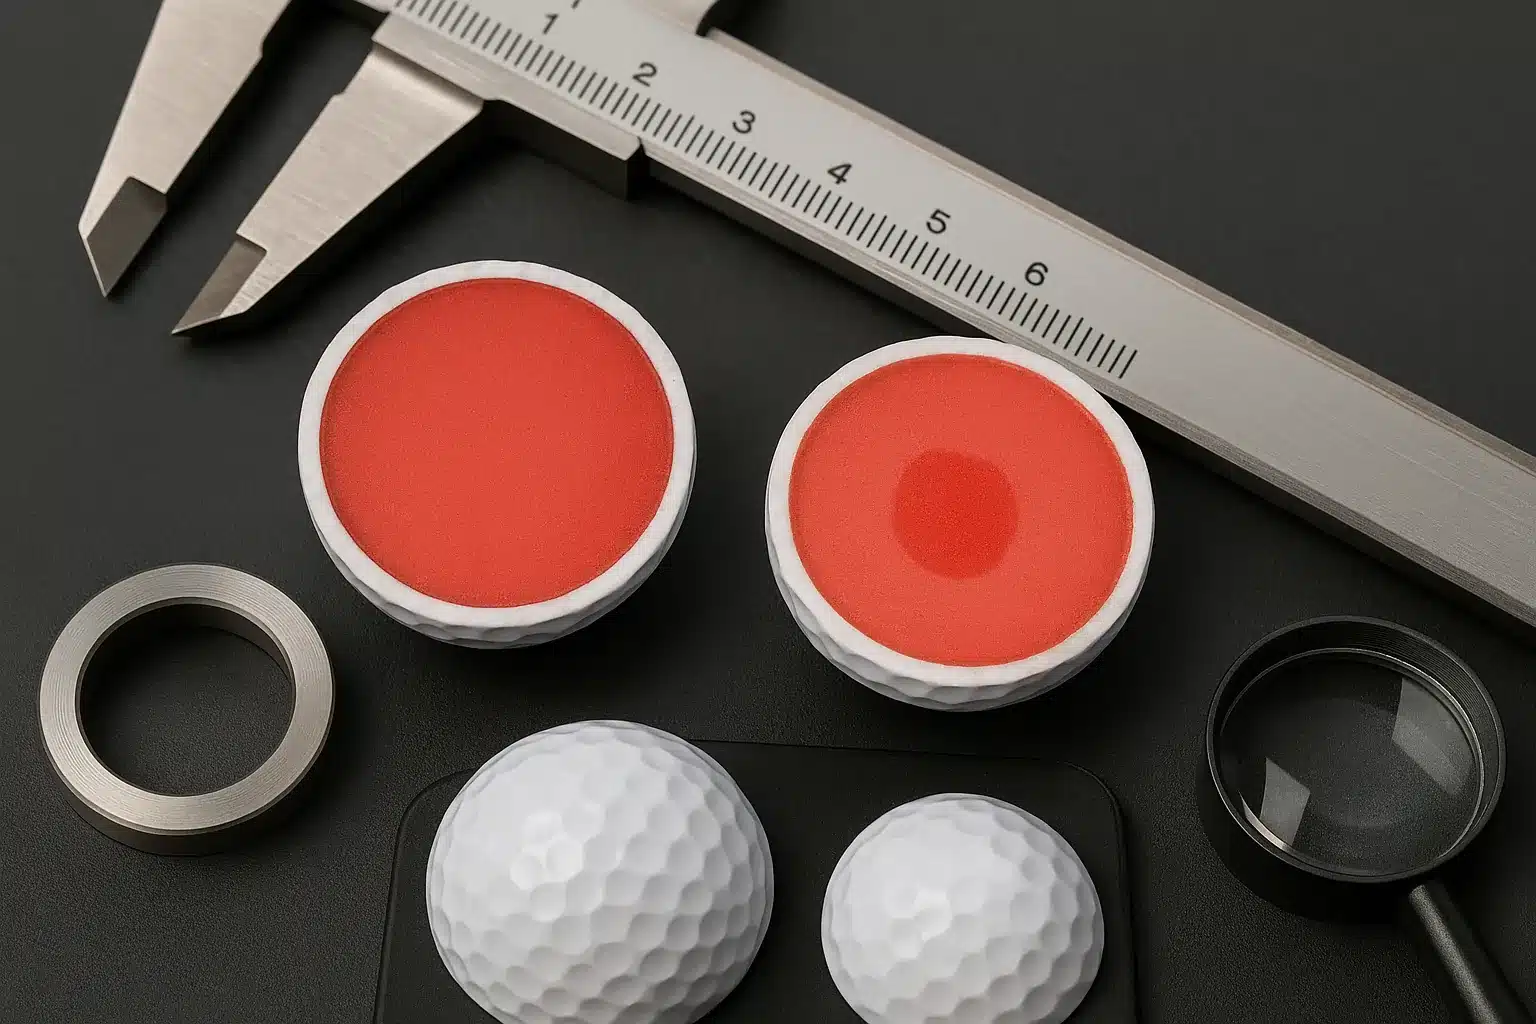
In a typical plant, production runs core molding → mantle/cover molding → grinding/smoothing → coating and printing. QC1 checks core and layer concentricity by cutting or scanning balls so the core, mantle, and cover stay centered. QC2 protects legality and basic consistency with 100% in-line weight sorting plus diameter and roundness sampling. QC3 turns a design like “90 compression” into a controlled distribution by mapping multiple points on balls from every batch. QC4 checks that covers survive realistic play and that every ball leaving the line matches your branding.
China factories already supply everything from basic 2-piece Surlyn range balls to 3-piece urethane tour models. The machinery gap between “cheap” and “tour-level from China” is small; the real gap is whether these four QC gates are standard procedure with data behind them—and whether the factory is ready to share that data.
How Can You Verify a China Supplier’s QC Process Remotely?
Many buyers cannot easily visit China plants, so they need remote ways to verify whether a factory truly runs these four QC steps or just says so.
Start with three document packs:
-
A test-equipment list with photos (scales, ring gauges, compression tester, hardness meters, wedge or impact rig, X-ray/CT or cut-ball setup).
-
A recent QC report for a real batch (12–24 balls) with raw weight, diameter, compression, and durability data.
-
Calibration certificates for key instruments.
Then request short videos of live checks: core concentricity (cut balls or scans), in-line weight sorting, diameter measurement, compression testing, and wedge or impact durability on production balls. You want routine processes, not a staged “show” ball.
Finally, use a concise audit checklist: which of the four gates are tested on every batch, what sampling sizes and reject rules they use, and how bad balls are segregated and scrapped. Verify the picture with your own tests on early orders. When factory distributions and your data line up, you’re dealing with a real QC system, not just good sales copy.
| QC Step | Where in Process | Key Metric | Typical Defect if Missing | Buyer Checklist Item |
|---|---|---|---|---|
| Core & layer concentricity | After core / mantle molding | Eccentricity / layer balance | Hooks/blocks, random distance changes | “Show cut-ball or scan photos and your visual ‘bad ball’ criteria.” |
| Weight & diameter compliance | Post-molding, pre-finishing | Weight, diameter, roundness | Overweight, undersized, out-of-round balls | “Share last batch’s weight/diameter histogram and rejection thresholds.” |
| Compression mapping | After core/cover curing | Multi-point compression per ball | Mixed feel and speed in one SKU | “Provide compression distributions for recent batches, not just averages.” |
| Cover durability & aesthetics | Post-coating and printing | Scuff rating, cosmetic defect rates | Early scuffs, peeling, logo issues | “Show wedge/impact test data and finishing-line defect statistics.” |
✔ True — Real QC is proven by data, not by binders
A factory can have ISO certificates and thick manuals yet skip core centering or compression mapping on everyday production. Buyers should always ask for recent raw QC data tied to real batches.
✘ False — “If finished balls look good, performance must be fine.”
Visual checks catch paint and logo issues, not off-center cores or wild compression spread. Those invisible defects are exactly what separate big-brand balls from bargain-bin surprises.
Which QC Check Matters Most for Tour-Level Golf Balls?
Not all defects hurt you equally: a tiny paint bubble is annoying, but an off-center core can turn a straight swing into a mystery hook or block.
For tour-level and premium balls, core and layer concentricity is the most critical QC check. When the core or mantle is off-center, the ball’s center of gravity shifts, making the same swing produce different curves, distances, and trajectories—even if weight and compression look fine on paper.
Most “bad ball” findings in robot tests and independent labs come from concentricity issues: asymmetrical cores, uneven mantles, or covers that are clearly thicker on one side. That’s how the same SKU can feel perfect on one swing and wrong on the next, without the golfer changing anything.
Factories that take concentricity seriously treat it as both a process and a measurement topic. Process-wise, they stabilize core molding, cure conditions, and material flow so layers naturally center. On the QC side, they mix regular cut-ball checks with X-ray/CT or optical scans, and they define visible eccentricity limits that trigger rejection. Top lines target almost zero visible eccentricity in retail samples; commodity lines that skip this gate accept much higher risk.
For buyers, concentricity QC is the quickest way to see whether a factory is thinking like a tour-ball supplier or a souvenir printer. If they cannot show how often they cut or scan balls, what they count as “bad”, and how many they scrap per batch, treat that as a signal to keep them on simpler products.
Why Are USGA and R&A Standards the Baseline for Every QC Step?
Factories may debate how tight their internal tolerances should be, but they cannot ignore the global rulebook that defines what counts as a conforming ball.
USGA and R&A jointly maintain the Conforming Golf Ball List, verifying weight, diameter, distance/initial velocity, and symmetry. Not every China OEM lists every SKU, but any factory claiming tour-level ability should test against these limits, even when it skips formal listing for cost reasons.
Concentricity isn’t a separate line item, yet it influences both distance consistency and symmetry. A heavily off-center core might tick the right boxes for weight and diameter but still fail when flight is tested at different orientations.
Treat USGA/R&A as the legal baseline and your four QC gates as the daily tools that keep production inside it. Ask whether your target structure—or a reference model using the same core, mantle, and cover—has passed conformity, and confirm that no major material or process changes have happened since that test.
How Do Weight and Diameter QC Prevent Illegal Golf Balls?
It only takes a few overweight or undersized balls in a batch to put your brand on the wrong side of USGA/R&A limits and tournament rules.
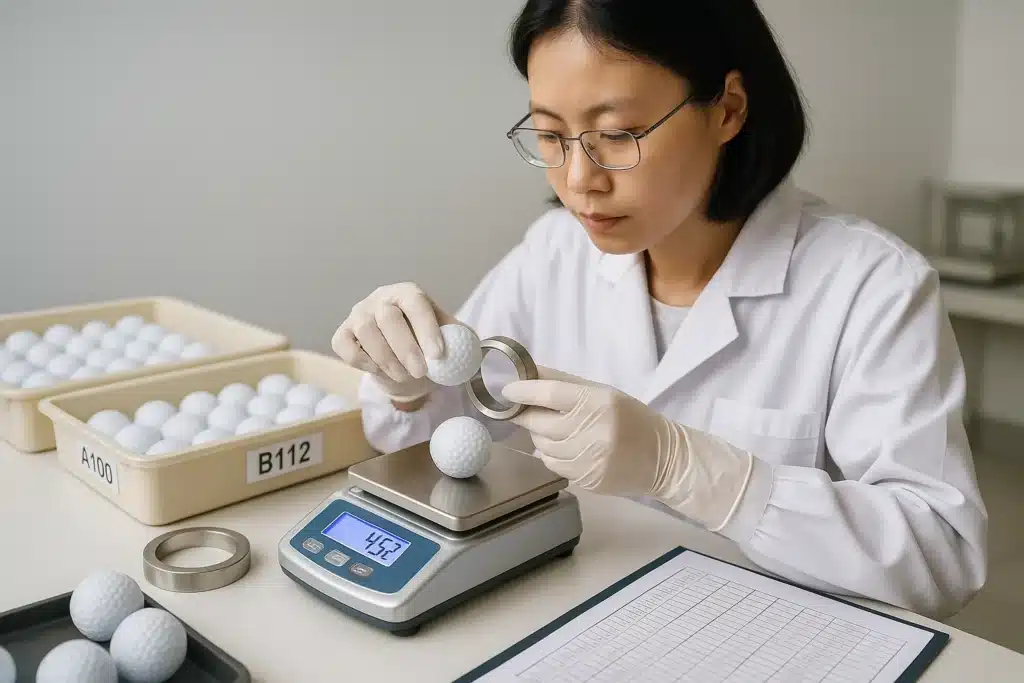
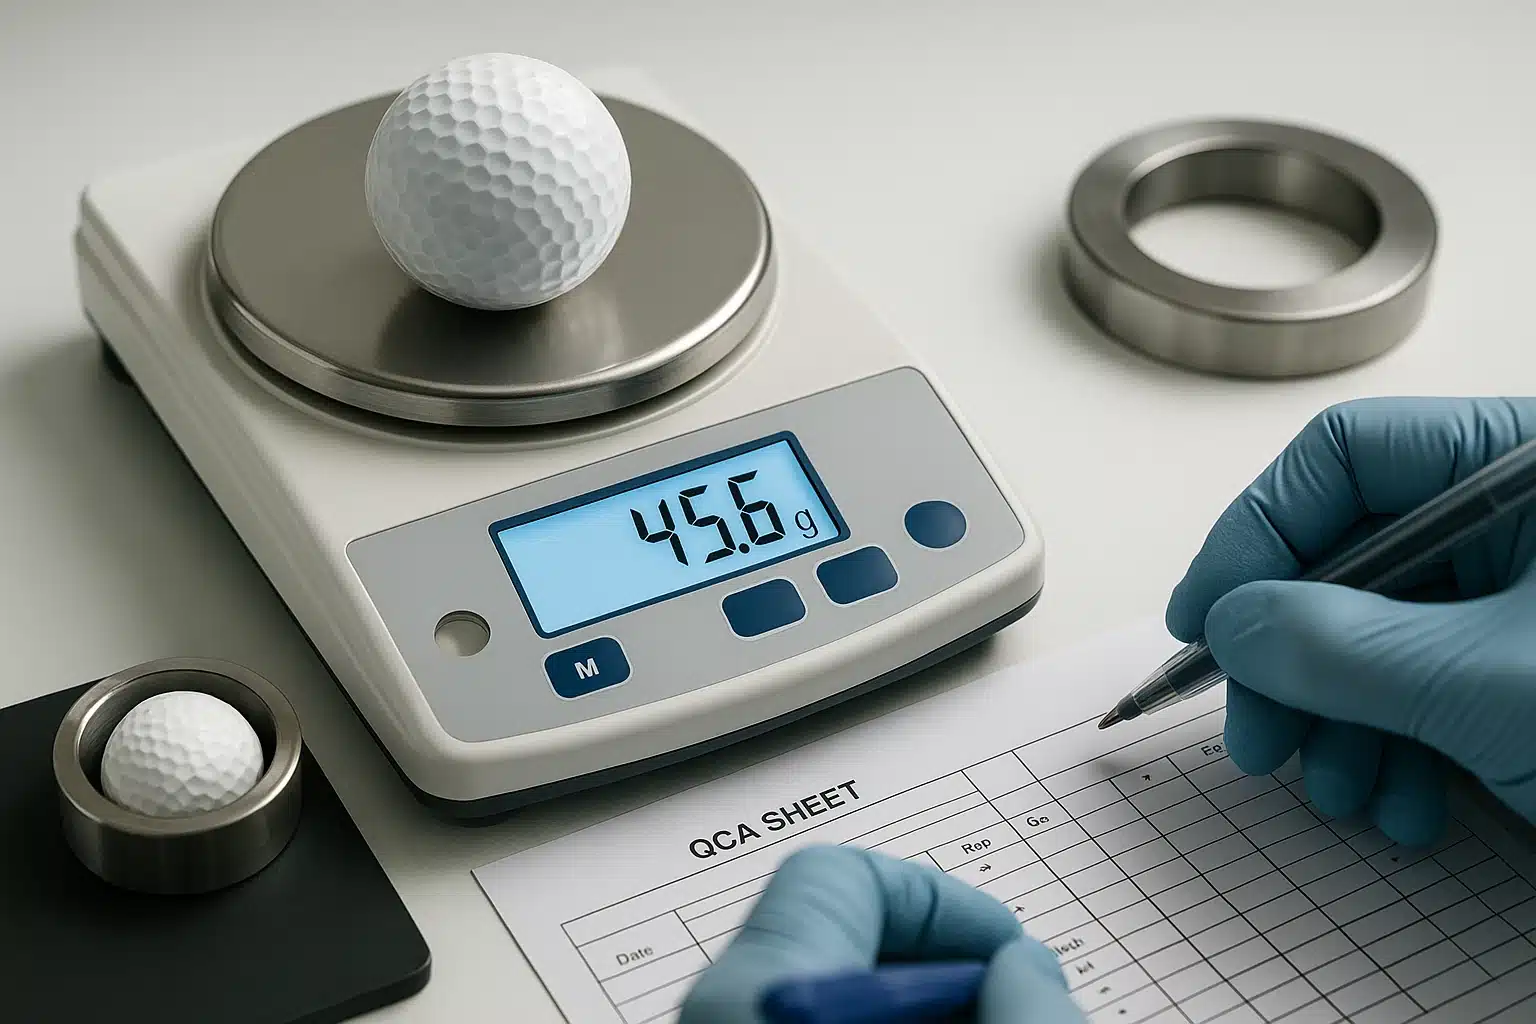
Weight and diameter QC keeps every ball—not just the average—inside USGA’s 45.93 g maximum and 42.67 mm minimum diameter. Mature factories run 100% in-line weight sorting, sample diameter and roundness, and set internal windows that leave safety margin for coatings and logos.
USGA and R&A set outer walls: weight ≤ 1.620 oz (45.93 g) and diameter ≥ 1.680 in (42.67 mm). Lab tests use calibrated scales and ring gauges on multiple balls; too many out-of-bounds samples, and the model fails.
On the line, strong factories mirror this with continuous weight checks and regular dimensional sampling. Many design internal windows like 45.80–45.88 g for weight and tight limits on diameter spread, so normal process noise never touches the rule limits.
Finishing is often where trouble sneaks in. Each clear coat, color coat, and logo layer adds mass. If the raw ball is already close to the limit, heavy refinishing or thick prints can quietly push some balls overweight. That’s why it’s important to see weight histograms before and after finishing and to keep coating recipes under control—especially for designs with large, dense logos.
Why Can Printing and Coating Turn a Legal Ball into an Illegal One?
Many buyers assume conformity is only about the core, but finishing steps can quietly eat up the remaining tolerance budget.
If a raw ball starts around 45.90 g, multiple generous paint and logo layers can push some units beyond 45.93 g. Refinished or heavily recoated balls are even riskier because earlier defects are buried under thick new coatings that nobody weighs carefully.
The practical fix is to design the raw ball slightly under the final weight target and to know exactly how much each finishing step adds. As a buyer, ask for weight distributions on “naked” and fully finished balls, then spot-check incoming shipments with your own scale and a simple ring gauge. Even for ranges and promotions, limiting overweight or undersized outliers keeps your product safe and predictable.
| Parameter | USGA/R&A Limit | Factory Target Window (Example) | Sampling Method | Buyer Verification Step |
|---|---|---|---|---|
| Weight | ≤ 45.93 g (1.620 oz) | 45.80–45.88 g | 100% in-line sorting + batch review | Weigh 24–36 balls; confirm no units exceed 45.93 g |
| Minimum diameter | ≥ 42.67 mm (1.680 in) | 42.70–42.80 mm average | Multi-axis diameter + ring-gauge check | Measure 8–12 balls; watch minimums and ring-gauge behavior |
| Roundness/spread | Not explicitly limited | Internal spread ≤0.10 mm | Compare max–min diameters per ball | Track worst spread; flag batches with obvious outliers |
✔ True — Rules tolerance and manufacturing tolerance must be different
USGA/R&A define absolute boundaries. Professional factories tighten those boundaries into narrower “manufacturing windows” so normal variation never touches the legal limits.
✘ False — “If the average is legal, a few overweight or undersized balls are fine.”
Those outliers cause conformity failures, tournament disputes, and bad customer reviews. Your QC plan should explicitly aim for zero illegal outliers.
How Does Compression Mapping Control Feel and Distance?
Two boxes of balls with the same compression number on the label can still feel completely different if the factory doesn’t control batch variation.
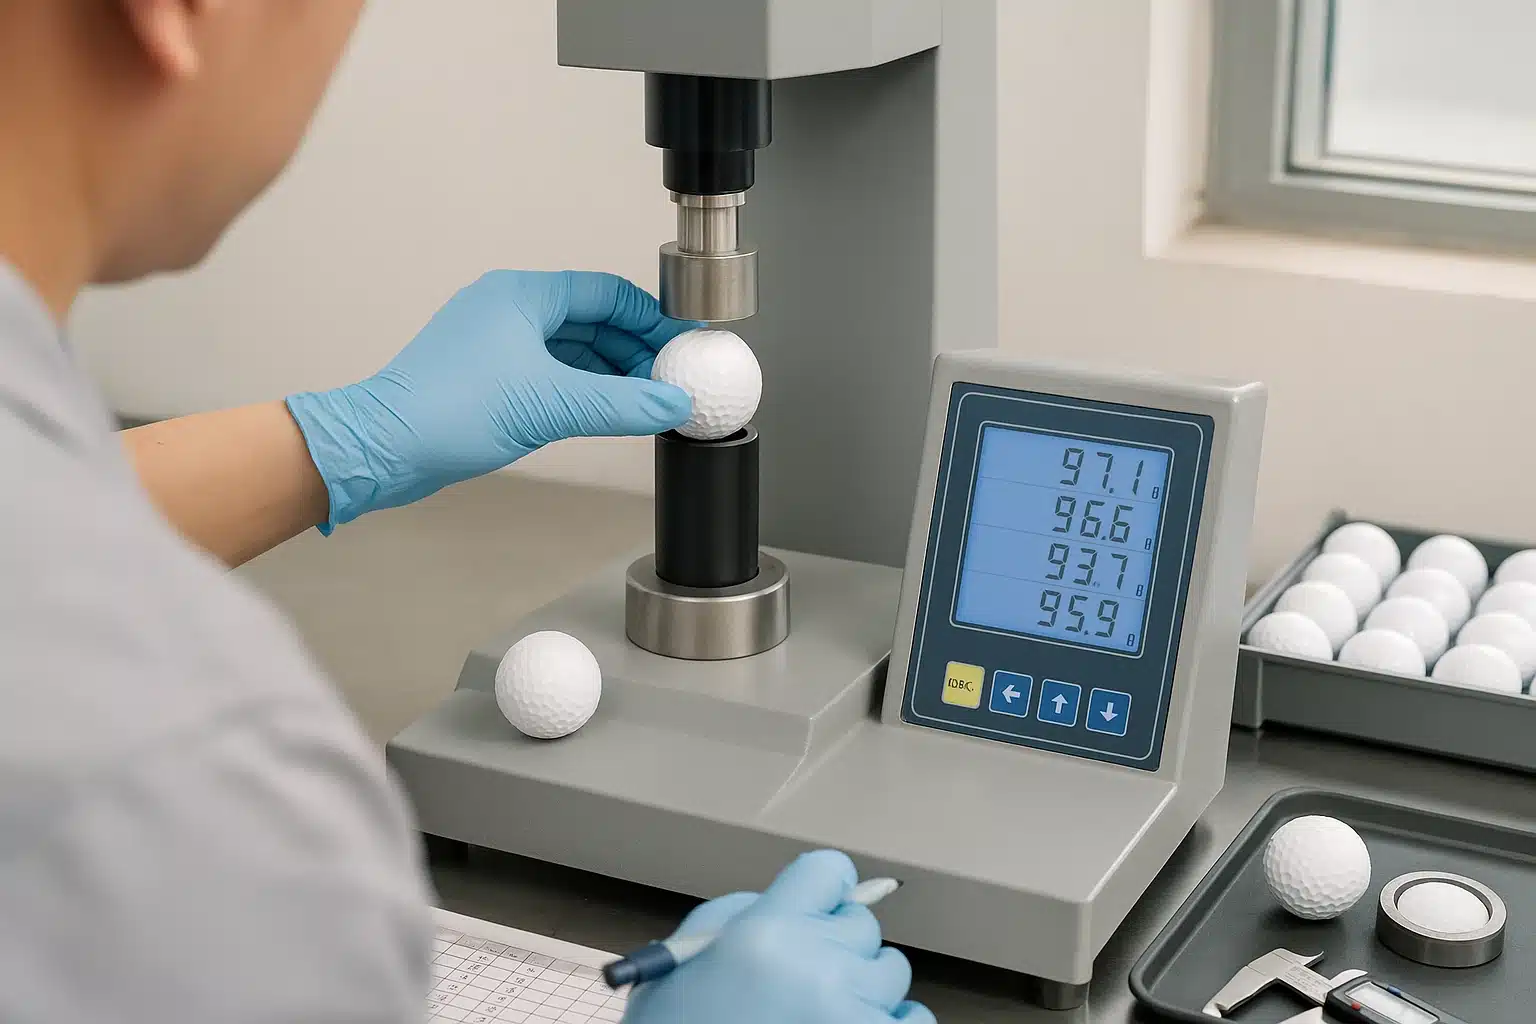
Compression mapping measures several points on each ball and tracks the batch distribution so every ball plays within a tight window of feel and speed. Instead of “about 90 compression”, disciplined factories target a value and cap both per-ball spread and batch standard deviation.
Compression drives both feel and ball speed. Very soft balls tend to launch slower for high swing speeds, while firm balls keep speed but can feel harsh. That’s why serious brands define compression platforms—soft 2-piece Surlyn, mid-range 3-piece, or firm 3-piece urethane—and then manage production to those targets.
In QC, factories use ATTI-style testers and measure three or more points per ball. They track per-ball spreads and batch statistics using specs such as “target 90 ±3, max 3-point spread ≤3, batch standard deviation ≤2–3”. China factories that invest in this kind of mapping usually also keep tight control over core formulation, cure cycles, and mold maintenance—so clean compression histograms are a useful proxy for overall process maturity.
Does the Compression Number Really Matter for Batch Consistency?
Players often obsess over 80 vs. 90 compression, but for OEM buyers, consistency inside the batch is even more critical.
A 5–10 point spread within the same SKU effectively turns it into several different balls: some launch faster and flatter, others softer and higher. That’s confusing for golfers and painful for your brand if customers mix them in one dozen.
Instead of accepting a single average, ask factories for compression distributions from recent runs and compare them to your agreed window. Add simple compression sampling to your incoming QC—at least for key SKUs and early batches—to confirm that production behaves like the development samples you approved.
| Ball Type / Target Compression | Per-Ball 3-Point Spread (Max) | Batch Std Dev (Target) | Player Feel & Use Case | Buyer Question to Supplier |
|---|---|---|---|---|
| Soft 2-piece Surlyn (~65) | ≤ 4 points | ≤ 3–4 points | Softer feel, ranges and corporate projects | “Show compression histograms for your current soft 2-piece.” |
| Mid 3-piece Surlyn (~75–80) | ≤ 3–4 points | ≤ 3 points | All-rounders for mid-handicap players | “How do you control compression by cavity or batch?” |
| Firm 3-piece urethane (~88–95) | ≤ 3 points | ≤ 2–3 points | Higher swing speeds, tour-style performance | “What internal limits and reject rules do you use for this SKU?” |
✔ True — The printed compression number is just a label
“80” or “90” on the box is a marketing handle. The real quality signal is how tightly actual measurements cluster around that value and how stable they are across batches.
✘ False — “If the box says 90, every ball must read exactly 90 on any tester.”
Different instruments read slightly differently, and small variations are normal. Your goal is a narrow, stable distribution rather than numerical perfection for each ball.
How Should China Factories Test Cover Durability and Logos?
Even if weight and compression are perfect, poor cover durability or sloppy finishing can quickly turn a promising OEM project into returns and 1-star reviews.
Cover durability QC combines lab tests—like wedge scuff cycles and simulated bunker shots—with 100% visual inspection for pits, paint defects, logo misprints, and color consistency. The aim is to accept normal urethane wear but prevent early cut-through, peeling clear coats, or visibly inconsistent branding across boxes.
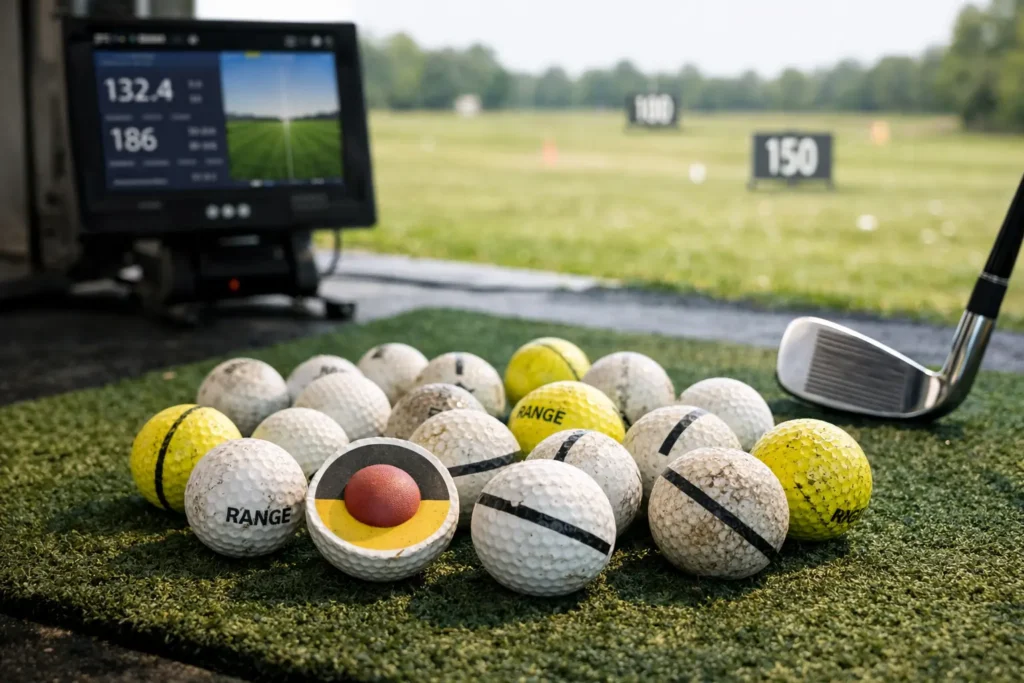
Surlyn/ionomer covers are very tough and cut-resistant, ideal for high-abuse ranges. Urethane and TPU-urethane covers trade some durability for higher spin and softer feel, so light scuffing after sharp wedge shots can be normal. Real problems are deep cuts, early peeling, or rapid yellowing across a batch.
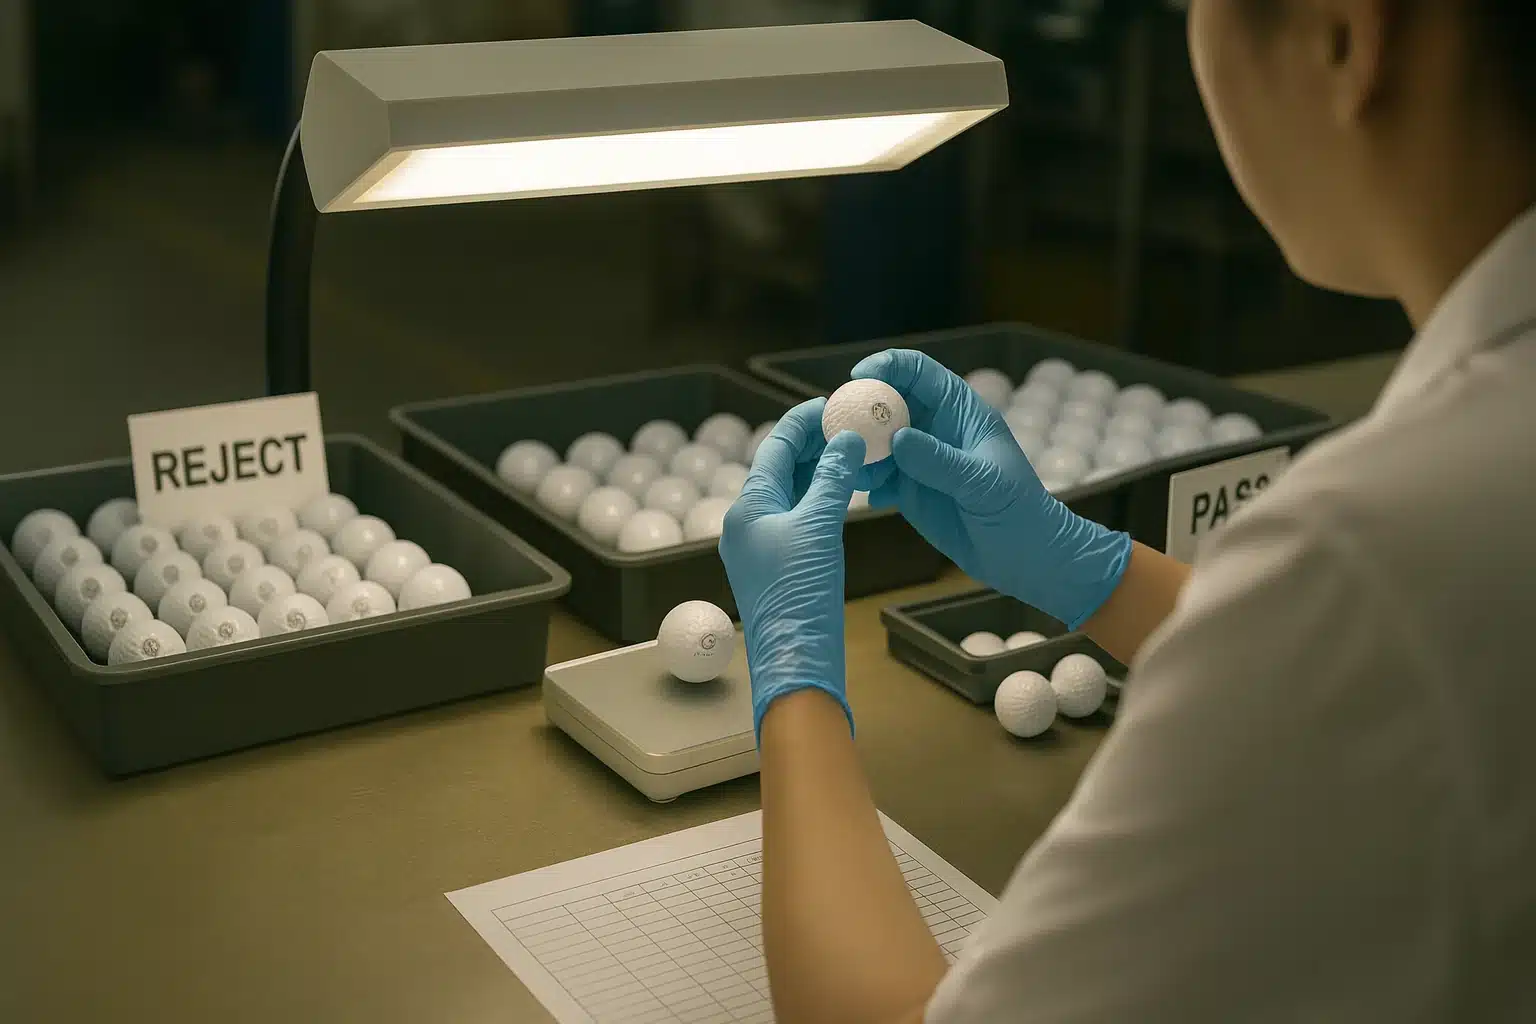
Mature China factories use standardized wedge or impact tests and grade scuffs against a reference scale, often with simple “pass” thresholds like “no core exposure” or “no deep cuts”. They also run heat, humidity, and UV aging to see how covers and clear coats hold color. On the finishing line, inspectors under strong lighting watch for logo alignment, color registration, pinholes, and off-center prints, especially for multi-color corporate logos.
For buyers, the practical move is to define success in numbers: how many hits before a ball reaches an agreed scuff rating, what logo defect rate is acceptable, and how much color shift is tolerable between lots. Practice balls, corporate gifts, and tour-style urethane balls will each need different targets, but the QC framework stays the same.
How Can You Set Practical Durability Targets for Your Project?
Most B2B buyers don’t need a ball that looks brand-new after 200 shots, but they do need to avoid early failures and complaints.
Define durability with clear thresholds, for example: after 10 wedge impacts at a defined speed, at least 95% of balls should show only light cosmetic scuffing, with no core or underlayer exposure. For range balls, you might define a minimum number of driver hits on mats before visible cracks or cover loss. For urethane balls, you can tolerate some scuffing as long as performance and branding stay acceptable.
Different covers support different profiles, and a good OEM should help you align them with your use case:
| Cover Type | Typical Use Case | Durability Expectation | Common Failure Mode | Suggested QC Test |
|---|---|---|---|---|
| Surlyn/ionomer | Ranges, value 2-piece balls | Very high hit count, minimal damage | Surface gloss loss, shallow marks | 50+ driver hits on mats; crack and cover-loss inspection |
| TPU-urethane | Mid–high-end 3-piece performance balls | Balanced spin vs. visible wear | Moderate wedge scuffing | 10–20 wedge shots; scuff grading and rebound check |
| Cast urethane | Premium / tour-style models | High spin; accepts cosmetic wear, no cuts | Sharp wedge “bite”, small chips | Wedge + bunker tests; scuff grading and layer exposure |
FAQ
Can a small China factory really match the QC of big international brands?
Yes, some small and mid-sized China factories can match big-brand QC—but only if they invest in the same four gates, show real data, and let you audit it. Size and building count matter far less than equipment, procedures, and openness.
When assessing a smaller OEM, focus your questions on capability rather than headcount: ask for equipment lists and calibration records, batch reports with distributions (not just averages), and cut-ball or scan photos for concentricity. Request a pilot order and build incoming QC that mirrors their own tests. If your numbers and theirs line up on multiple batches, you can negotiate flexible MOQs and services with confidence; if they refuse data or your tests diverge, walk away regardless of how impressive the factory tour looks in brochures.
How often should my China OEM run full QC testing on production balls?
Expect 100% in-line weight sorting on every ball and sampling for diameter, compression, and durability on every batch, with tighter and more frequent checks for complex multi-layer urethane designs. Anything looser should be a negotiated exception, not the default.
In your quality agreement, specify the minimum frequency and sample size: for example, diameter and compression checks per shift or per X thousand balls, and durability tests per recipe or mold change. Make it clear that changes in materials, tooling, or cure conditions require extra QC. During early cooperation, ask the factory to share batch-by-batch QC summaries so you can spot trends and confirm they follow the agreed frequency. If you see “holes” in the data, use that as leverage to tighten the system before you place larger volume orders.
Do I need my balls to be on the USGA/R&A conforming list for corporate or range use?
For corporate, range, and casual projects, formal listing is usually optional—but designing and controlling to USGA/R&A-style limits is still smart. Listing becomes essential only when you sell into tournament play or serious handicap rounds.
When talking to your OEM, distinguish between design to conform and pay to list. Ask them to confirm that the proposed ball respects weight and diameter limits, and to share internal specs and distributions that prove it. Then decide whether to pay for listing based on your channels. For a range or corporate ball, you might skip listing but still demand that the contract references USGA/R&A values and the four QC gates. For a flagship performance model, you may require the factory to handle listing and embed the related obligations and costs in pricing.
What sample size is realistic for incoming QC when I receive shipments from China?
For most buyers, checking 12–36 balls per SKU per shipment for weight, diameter, and compression is a practical balance. Start higher for new models or new factories, then relax only after they’ve proven stable over multiple deliveries.
Define your sampling in the quality agreement and share it with the factory so expectations match. Pull balls randomly from several cartons, not just the top layer of one box. Record your measurements and compare them with the supplier’s batch data; if you see consistent alignment, you can reduce sampling over time. When numbers drift, escalate: temporarily increase sampling, ask for a root-cause report, and link future volume increases to restoring performance inside the agreed windows.
How can I compare two China factories’ QC capabilities without visiting each plant?
Use a structured QC scorecard: ask both factories for the same data packages, test blind samples on your side, and rank them by measurement capability, transparency, and responsiveness—not just price.
Your scorecard might include: completeness of equipment lists, presence of X-ray or cut-ball checks, clarity of internal specs, and quality of example batch reports. Then request blind-labeled samples and run basic weight, diameter, and compression tests in-house or via a third party. During negotiation, pay attention to how quickly and precisely each factory answers follow-up questions and agrees to put QC promises into the contract. The partner that wins on data and discipline, even at slightly higher cost, usually gives you lower total risk long term.
Will switching from 2-piece Surlyn to 3-piece urethane from China increase my QC risk?
Yes, complexity and QC sensitivity increase when you move to 3-piece urethane—but you can manage that risk by tightening specs, increasing sampling on early batches, and locking corrective actions into the agreement before you launch.
When planning the upgrade, ask your current or new OEM to present specific concentricity, compression, and durability specs for the urethane design, plus real data from similar products. Agree on higher initial sampling for cut-ball checks, compression mapping, and wedge tests for the first few batches. Build “trigger points” into your quality agreement—for example, if bad-ball rates exceed X%, the factory must run a root-cause analysis, adjust processes, and repeat a controlled trial before full production resumes. This makes the transition an engineering project, not just a price negotiation.
What should I do if my own tests show more bad balls than the factory’s QC report?
Treat it as a data-gap problem first: compare methods and definitions, run a joint retest if needed, then use the agreed quality terms to decide on sorting, credits, or rework. Avoid jumping straight to blame; focus on fixing the sampling and the process.
Start by sharing your raw data and protocol: how many balls you tested, how you chose them, and which criteria you used to call them “bad”. Ask the factory to provide the same. If differences remain, propose a joint or third-party test on a new shared sample. Once both sides trust the numbers, apply your contract: decide whether the batch can be sorted locally, needs partial replacement, or in extreme cases should be fully reworked. Finally, update the quality agreement if you’ve discovered that your sampling or definitions were not aligned enough.
What Should Be Your Next Step with China Golf Ball Makers?
Knowing what good QC looks like is only useful if you turn it into concrete questions, documents, and tests for your next sourcing cycle.
Your next step is to turn the four QC processes—concentricity, weight/diameter, compression mapping, and cover durability—into a short supplier checklist and quality agreement. Start with a small but well-instrumented pilot order, compare real data against promises, and then scale only with factories that prove they can hold those gates.
Build a shortlist of China factories experienced in your target segments, and send them an RFQ that includes QC questions, not just price and MOQ. Ask for recent batch data and cut-ball or scan photos, and insist on seeing how they run each of the four QC gates in routine production, not just in special “demo” runs.
You might also like — How Are Golf Balls Made? Processes, CTQs & QA

